Springboot使用swagger2生成Api文档

概述

之前开发项目的时候,需要写API文档,项目小接口少的时候一份word就能简单应付,但是随着项目的API的增加,对API文档的维护工作就会越来越繁琐,为此引入能自动生成RESTful接口文档的Swagger2框架就变得理所当然。

作为一个能够自动生成API文档的框架,其最大的优点有两个:

  1. 接口文档在线能够自动生成,文档随接口变动实时更新,节省维护成本
  2. 支持类似spring RESTful插件那样的在线接口测试,不依赖第三方工具

一、举个例子?

假设现在有一个TestController接口,里面有几个简单的API,通过swagger的注解添加接口描述

1
2
3
4
5
6
7
8
9
10
11
12
13
14
@Api(value = "Api-test", description = "测试接口")
@RequestMapping("/test/")
@RestController
public class TestController {

@ApiOperation("获取回复")
@GetMapping("aiTalk")
public String test(String str){
str.replace("吗?","");
return str;
}

... ... //下同,不再赘述
}

启动项目后访问特定页面即可看到以Controller分类的API文档,点击展开以,根据注解的详细程度,会有传入参数,返回类型等详细说明,除此之外,还会有类似springREST插件那样的在线测试功能

二、如何在项目中引入swagger2?

1.引入Maven依赖

1
2
3
4
5
6
7
8
9
10
11
<!--swagger-->
<dependency>
<groupId>io.springfox</groupId>
<artifactId>springfox-swagger-ui</artifactId>
<version>2.9.2</version>
</dependency>
<dependency>
<groupId>io.springfox</groupId>
<artifactId>springfox-swagger2</artifactId>
<version>2.9.2</version>
</dependency>

2.在springboot配置使用Swagger

1
2
3
4
5
6
7
8
9
10
11
12
13
14
15
16
17
18
19
20
21
22
23
24
25
26
/**
* @Author:huang
* @Date:2020-02-23 13:22
* @Description:配置swagger2
*/
@EnableSwagger2
@Configuration
public class SwaggerConfiguration {
@Bean
public Docket adminApiConfig(){
return new Docket(DocumentationType.SWAGGER_2)
.groupName("huangApi")
.apiInfo(adminApiInfo())
.select()
.paths(Predicates.and(PathSelectors.regex("/.*")))
.build();
}

private ApiInfo adminApiInfo(){
return new ApiInfoBuilder()
.title("简单课程表-API文档")
.description("本文档描述了简单课程表系统的接口定义")
.version("1.0")
.build();
}
}

3.访问页面

启动项目,访问 http://localhost:8080/swagger-ui.html#/ 即可

三、swagger2注解

1.@Api注解

用在请求的类上,表示对类的说明

属性 作用
value 描述类的作用
tags 说明该类的作用,非空时将覆盖value的值
protocols 设置特定协议,例:http, https, ws, wss
hidden 默认为false, 配置为true 将在文档中隐藏

实例:

1
2
3
4
5
6
@Api(value = "Api-test", tags = "测试接口")
@RequestMapping("/test/")
@RestController
public class TestController {

}

2. @ApiOperation注解

用在请求的方法上,说明方法的用途、作用

属性 作用
value 描述方法的作用
tags 说明该方法的作用,非空时将覆盖value的值
response 返回对象类型(如果该对象类有@ApiModel属性会在文档的Model中列出)
httpMethod 指定HTTP方法,"GET", "HEAD", "POST", "PUT", "DELETE", "OPTIONS" and "PATCH"
hidden 默认为false, 配置为true 将在文档中隐藏

实例:

1
2
3
4
5
@ApiOperation(value = "获取课程表",response = CourseSchedule.class, httpMethod = "GET")
@RequestMapping(method = RequestMethod.GET, path = "getCourseSchedule")
public CourseSchedule getCourseSchedule(){
return new CourseSchedule();
}

3. @ApiImplicitParams注解

@ApiImplicitParam注解,用在@ApiImplicitParams注解中,表示一组参数的说明

@ApiParam注解,用在单个参数上,是对单个参数的说明

属性 作用
value 参数的说明
name 参数名,参数名称可以覆盖方法参数名称,路径参数必须与方法参数一致
required 参数是否必须传,默认为false(路径参数必填)
defaultValue 参数的默认值
paramType 参数应该怎么传给接口:
1.“header”对应spring@RequestHeader注解标记的参数;
2.“query”对应spring@RequestParam注解标记的参数;
3.“path”对应spring@PathVariable注解标记的参数;
dataType 参数类型

实例:

1
2
3
4
5
6
7
8
9
10
@ApiImplicitParams({
@ApiImplicitParam(name = "str", value = "字符串", required = false, dataType = "String", paramType = "query"),
@ApiImplicitParam(name = "id", value = "id", required = true, dataType = "Integer", paramType = "query")
})
@GetMapping(path = "call")
public Result call(
@ApiParam(name = "str", value = "字符串", required = false) String str,
@ApiParam(name = "id", value = "id", required = true) Integer id){
return Result.success("吱一声以表示项目运行");
}

4. @ApiModel注解

用在请求的类上,表示对类的说明

@ApiModelProperty注解

用在被@ApiModel标记了的类的属性上,用于描述类的属性

注:此注解一般用于响应类上,比如使用@RequestBody注解直接接收对象作为参数的时候,多用于创建或更新

属性 作用
value 此属性的简要说明
name 允许覆盖属性名称
allowableValues 限制参数的可接受值,有以下几种:
1.以逗号分隔的列表
2.范围值
3.设置最小值/最大值
example 属性的示例

实例:

1
2
3
4
5
6
7
8
9
10
11
12
13
14
15
16
17
18
19
20
21
22
23
/**
* @Author:huang
* @Date:2019-12-11 12:38
* @Description:考试安排实体类
*/
@ApiModel("考试安排实体类")
public class ExamSchedule{

@ApiModelProperty("课程名称")
private String courseName;

@ApiModelProperty("考场")
private String examClassroom;

@ApiModelProperty("考试时间")
private String examDate;

@ApiModelProperty("当前时间")
private String date;

@ApiModelProperty("当前学期")
private String nowDate;
}

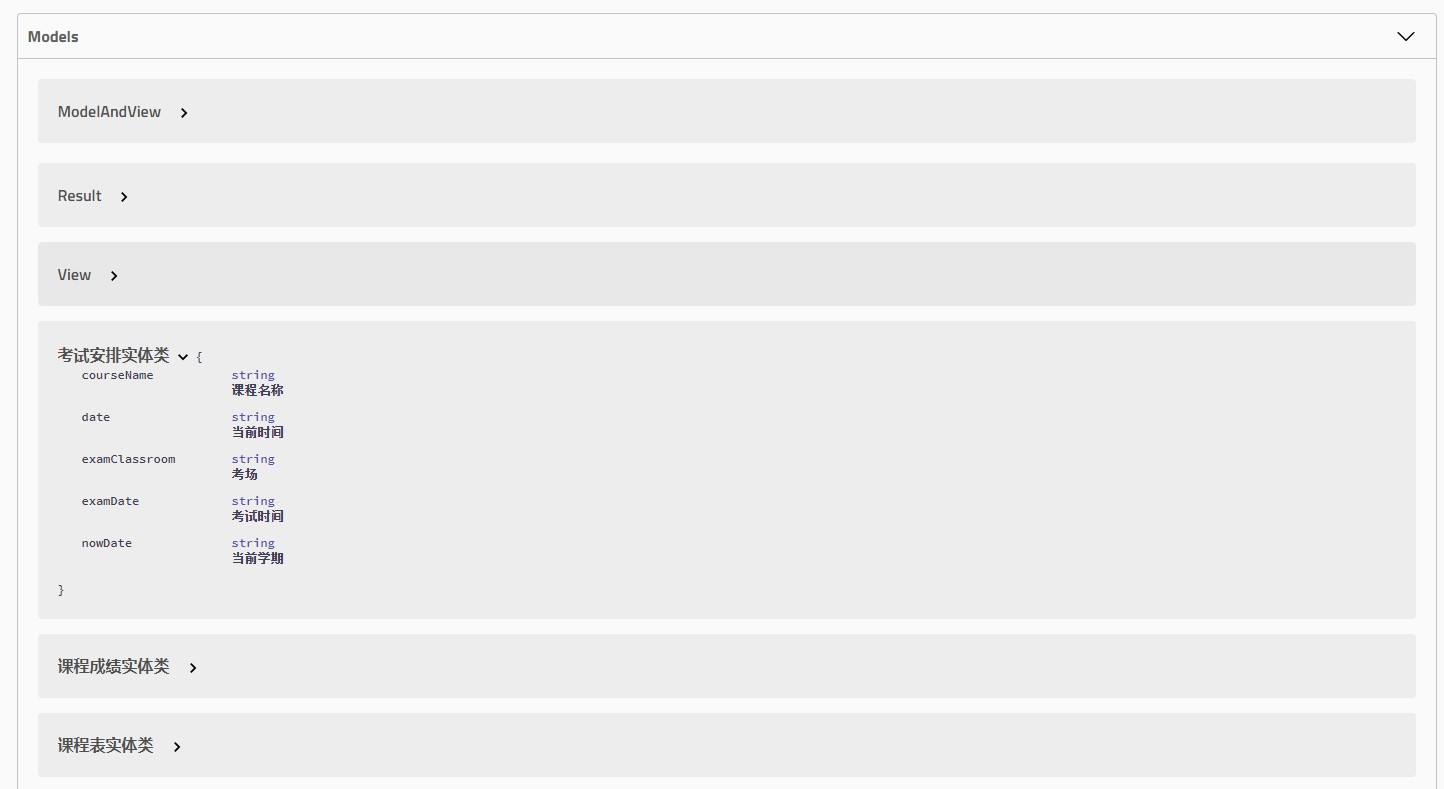
另外,如果被标记的类有被 @ApiOperation注解的response属性引用的话,在文档页面的Model可以看到

四、使用knife4j对swagger进行增强

1.什么是knife4?

knife4j是为JavaMVC框架集成Swagger生成Api文档的增强解决方案 ,在Swagger的基础上进行了各方面的增强,比如接口排序,一键导出markdown,word,pdf等功能,以及一个逻辑更加清晰而美观的功能,最重要的是,这些实用功能不需要改动任何原有的注释或者代码,只需要加一个依赖!tql!!!

地址: https://doc.xiaominfo.com/

2.简单使用

在原有swagger2依赖下引入knife4j依赖

1
2
3
4
5
6
<!--使用knife4j对swagger进行增强-->
<dependency>
<groupId>com.github.xiaoymin</groupId>
<artifactId>knife4j-spring-boot-starter</artifactId>
<version>2.0.1</version>
</dependency>

然后就可以用了!

没错,原本的 http://localhost:8080/swagger-ui.html#/ 页面访问完全不受影响,但是通过http://localhost:8080/doc.html即可访问knife4j加强后的页面,效果如下:

0%